
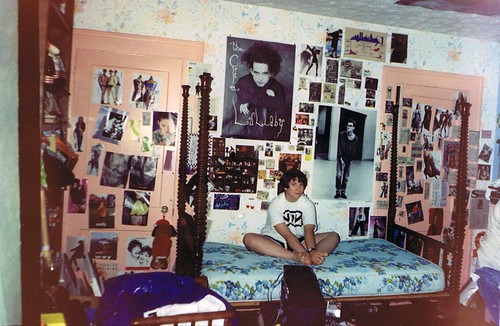
I found inspiration for a solution on Pinterest, this lovely image from Something's Hiding in Here.
I started designing (read, nerding out) on the idea in earnest in December. I took a photo of the space and started measuring and mapping out my needs.
My needs were to get some new tools off of my work table, and I was finding it difficult to cut fabric in such a cramped space. I was getting frustrated with making some cuts, because I just couldn't manipulate myself around the table in a way that made the cut easier.
So I came up with a plan for Phase 1, which would be installing pegboard so that I could move my tools up and out of my way but still within easy reach. I also have always enjoyed hanging photos on the wall for inspiration, to my mother's shock and horror. I have already apologized for leaving this shit for her to deal with after I left for college. Oopsie.
I am much more organized now.
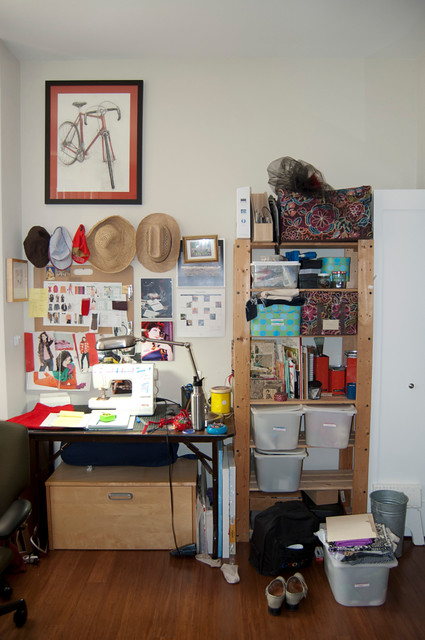
This is what my space looked like on December 18th. That bikey drawing is by the lovely and talented Catherine Mackey. Maybe I should have cleaned up a little.

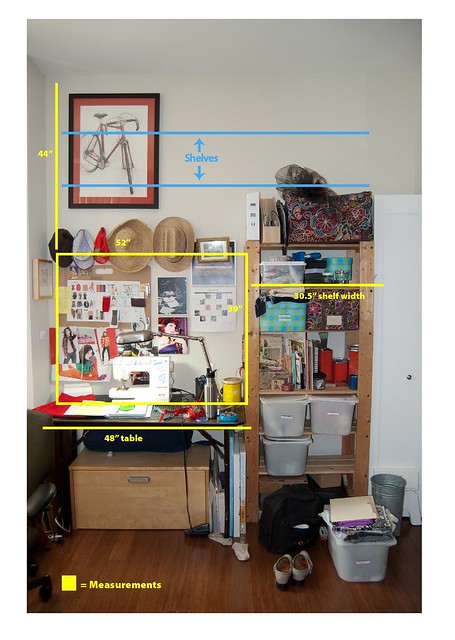
Phase 1- click on the image to see it bigger in Flickr.
The above is Phase 2
The above images are me nerding out in the Illustrator, putting my continuing education Interior Design skills to good use. I have searched the internets high and low for that awesome sewing table in the BurdaStyle Sewing handbook, but so far I haven't been able to locate it. And the other 3 inspirational images are from the clever folks over at Something's Hiding in Here, design porn at its finest.
I came up with a Phase 1 plan, which consisted of installing the pegboard and Phase 2 which may or may not involve getting rid of the standing shelf and replacing it with shelves on the wall above the pegboard. There are pluses and minuses to getting rid of the standing shelves.
Plus: I would have more space to move around the worktable when I'm cutting.
Minus: I would lose shelf and storage space. I figured this can wait. However, I became obsessed with getting the f*cking pegboard installed 'cause this shit is so cool.
In the 52"x39" space, I was originally going to put in half pegboard, half bulletin board. You can see those dimensions in pink in the Phase 1 image. But as usual idea #1 is ok, but later permutations of this idea were better. We ended up putting in a 4 foot by 4 foot section of pegboard and it is so RAD.

There is more to this story...on December 26th, my friend Jimmy came over and we went to the hardware store to get the framing and pegboard. Turns out both hardware stores near my house were out of pegboard. So we (well, he) installed the framing. I did get to play with power tools and that was super fun. I made some nice cuts.
Ok so today is January 15th. I got the pegboard on Friday. THREE WEEKS LATER. Note to self, when planning a pegboard project make sure it's not the first of the year because apparently everyone has the same organizational project ideas and the pegboard cupboards are bare, both in San Francisco AND Marin.
I was very patient.

January 15th: pegboard has been installed.
And here we go yo! It was so worth the wait and so many ideas have I. The above photo is me messing around with some dimensions. I know for sure that I want to put a bulletin board on it so that I can pin things up for inspiration. And I went with a neutral color so that I can add a lot of colorful things to it.
As this project progress, I'll share more. It is like my absolute favorite thing right now!
No comments:
Post a Comment